> For the complete documentation index, see [llms.txt](https://documentation.alpaco.email/llms.txt). Markdown versions of documentation pages are available by appending `.md` to page URLs; this page is available as [Markdown](https://documentation.alpaco.email/template/input-groups/input-types/image.md).
# Image
Images are a fundamental part of an email, that's why we've built this feature with deep setting possibilities to take care of all scenarios that you would need
Images are a fundamental part of email, wether you use it as standalone images or you're more into the advanced of using it as background images - to us it's all the same in terms of settings. We've done our best to make it easy for the marketeer to work with images, without having to worry too much about resizing and scaling.
The **Image** input allows images uploaded directly from the marketeers browser, or alternatively via a URL.
### Template Editor
You can reference this image in your template code in several ways:
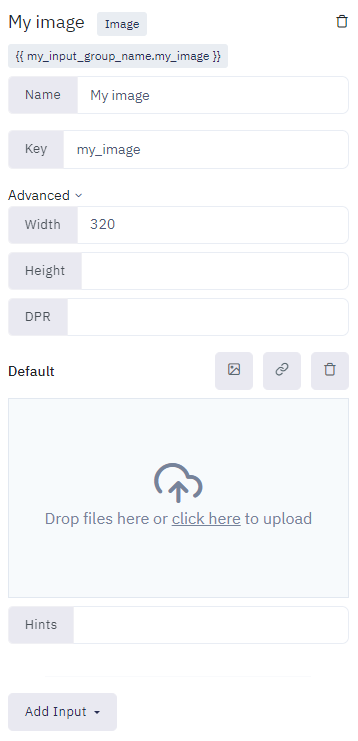
* `{{ my_input_group_name.my_image.url }}` - Outputs the URL of the image, with no resizing, just pure image.
* `{{ my_input_group_name.my_image.url | image: width: 320 }}` - Outputs the image and resizes it to 320px in width. It gives access to the many different options defined in [Image settings](/template/input-groups/input-types/image/image-settings.md).
Additional variables are exposed on the image object with the width, height, DPR and Default image accessible in the **Advanced** dropdown, which is useful for setting width/height in `` attributes and in `style` attributes.
* `{{ image.width }}` - The width of the image in pixels (after automatic resizing). It ignores the **DPR,** so if `width: 320` and `DPR: 2` is set in options, `image.width` will output `320`.
* `{{ image.height }}` - The height of the image. If image resizing is used with width only, the image will be resized preserving aspect ratio, and the outputted height will be the resulting height.
### Email Editor
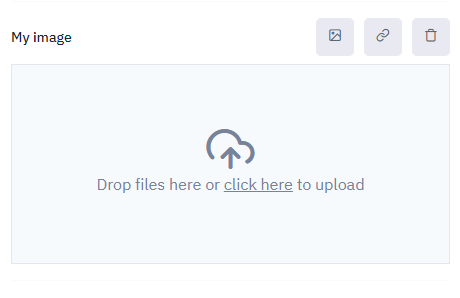
Before marketeer uploads/inserts image:
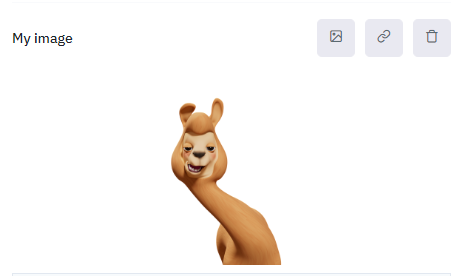
After image upload, the image is shown with a preview:
### Hosting
In Alpaco we know how important speed and stability is to any email marketing campaign.\
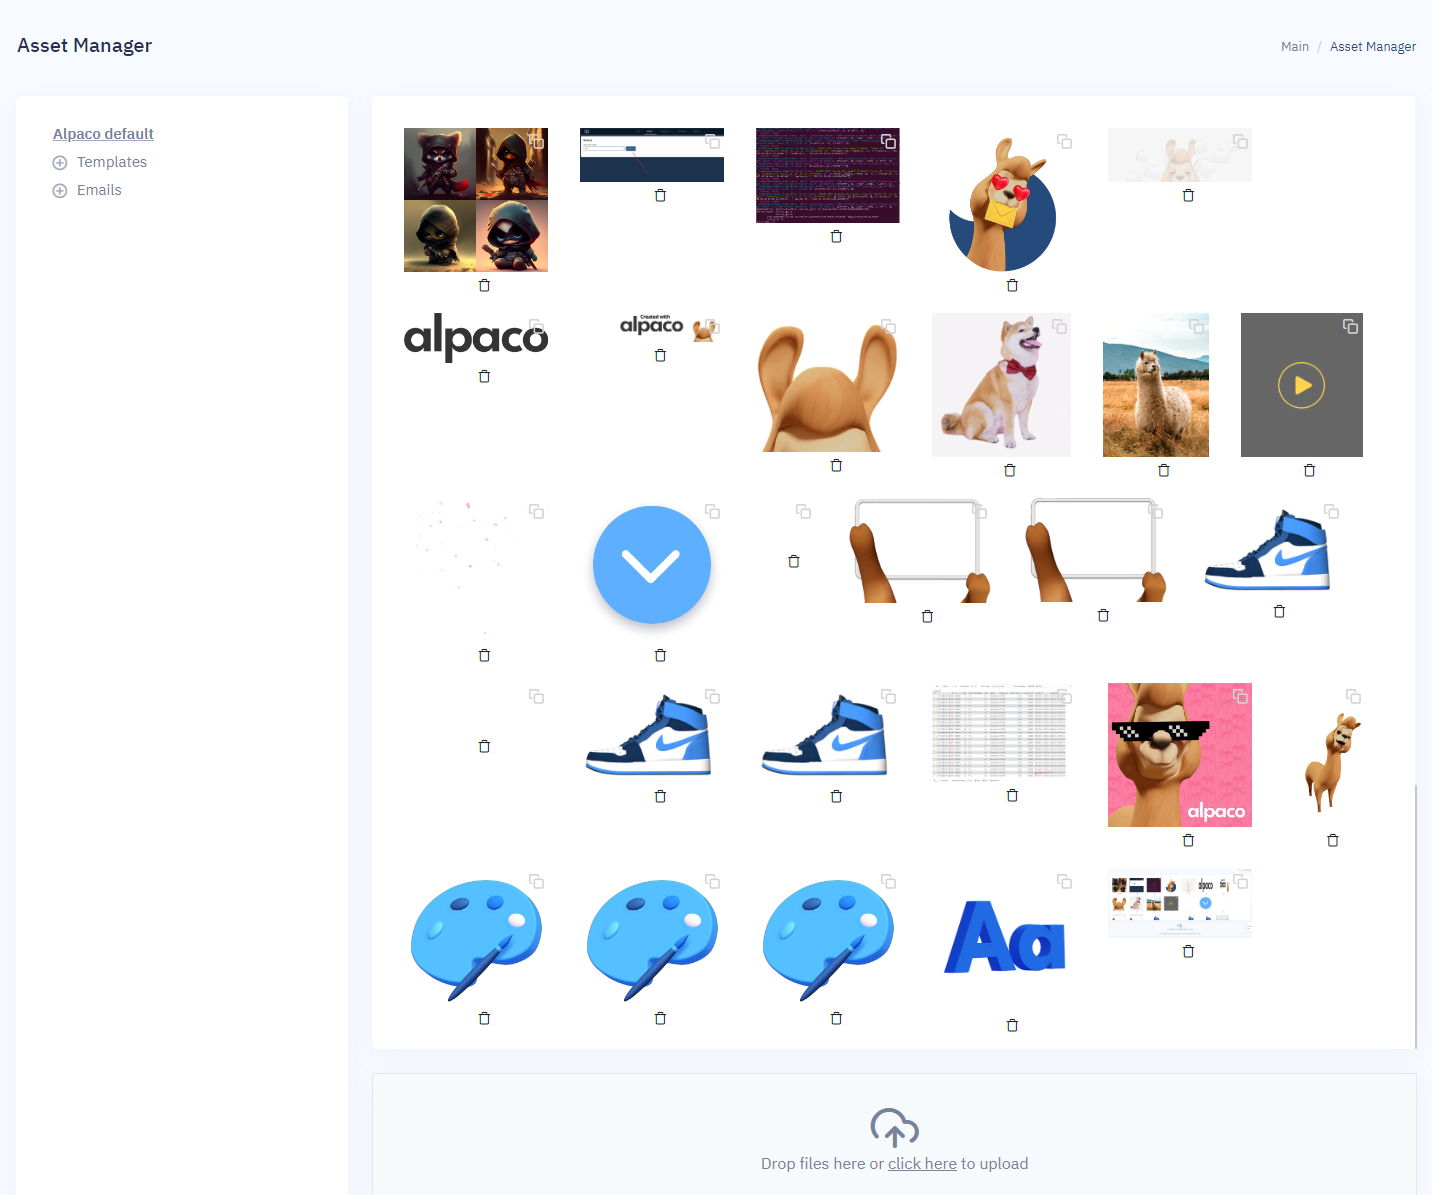
So in order to make sure images are reutilized and served properly we've made an **Asset Manager.**\
\
The Asset Manager is accessible from all emails, and anywhere on the platform, and serves as an overview of which assets has been uploaded to the platform.\
\
These assets are stored in their original form, regardless of which way the user has uploaded them in, so they can be saved in the maximum resolution possible. This not only saves time, but also free's the user from having to crop images all the time.\
\
When using an asset in an email, it is up to the Image input to define which variant or variables to add to the original image in order to create a new image.\
\
Lastly the new image that is served to the email, is stored on the Alpaco domain and served through a global cloud CDN, ensuring speed and reliably to the viewers of the email, no matter where they are on the globe.